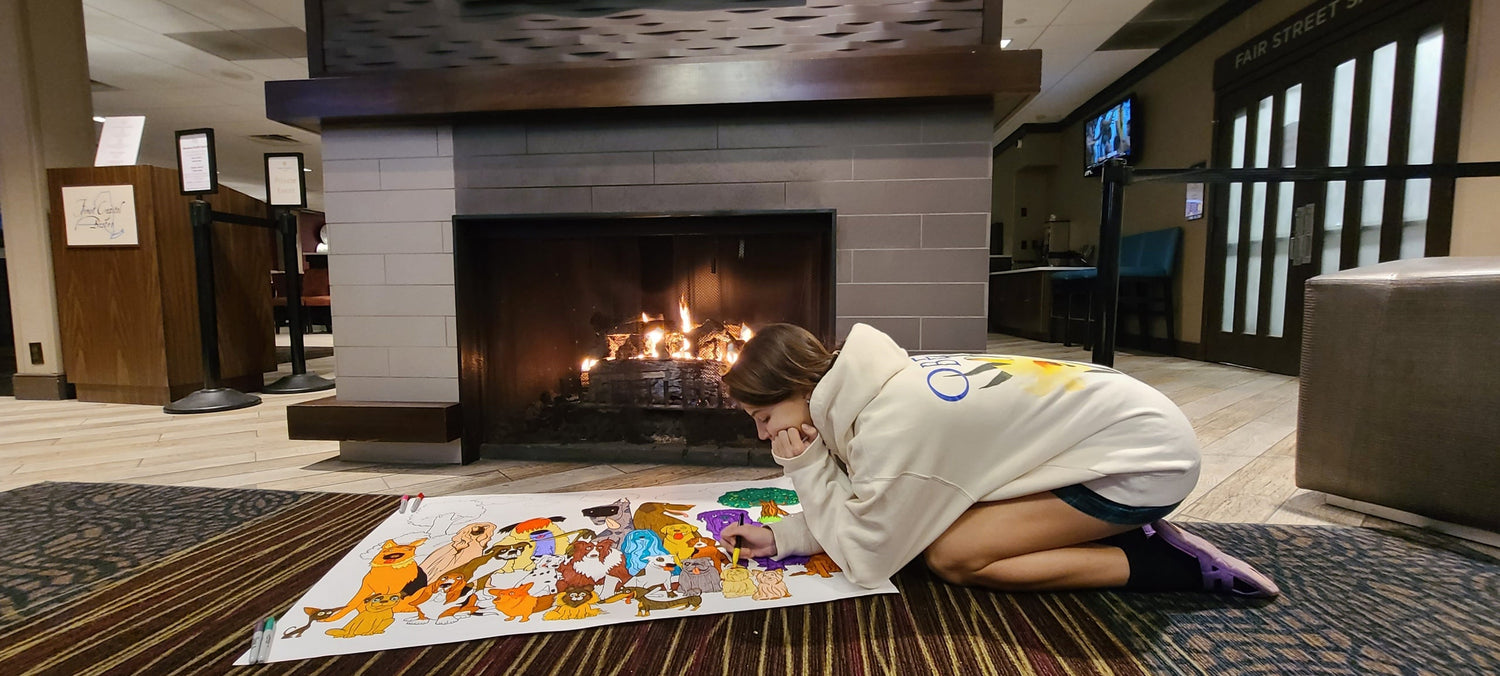
A giant coloring poster is a different experience than a standard coloring book page — bigger canvas, bigger commitment, and a different set of techniques that make the final result look its best.
Whether you're prepping for a classroom activity, a senior care program, or just coloring one for yourself, here's how to get the most out of every poster.
1. Pick the Right Tools

Not every coloring tool performs the same way on a large-format poster. Here's what works best:
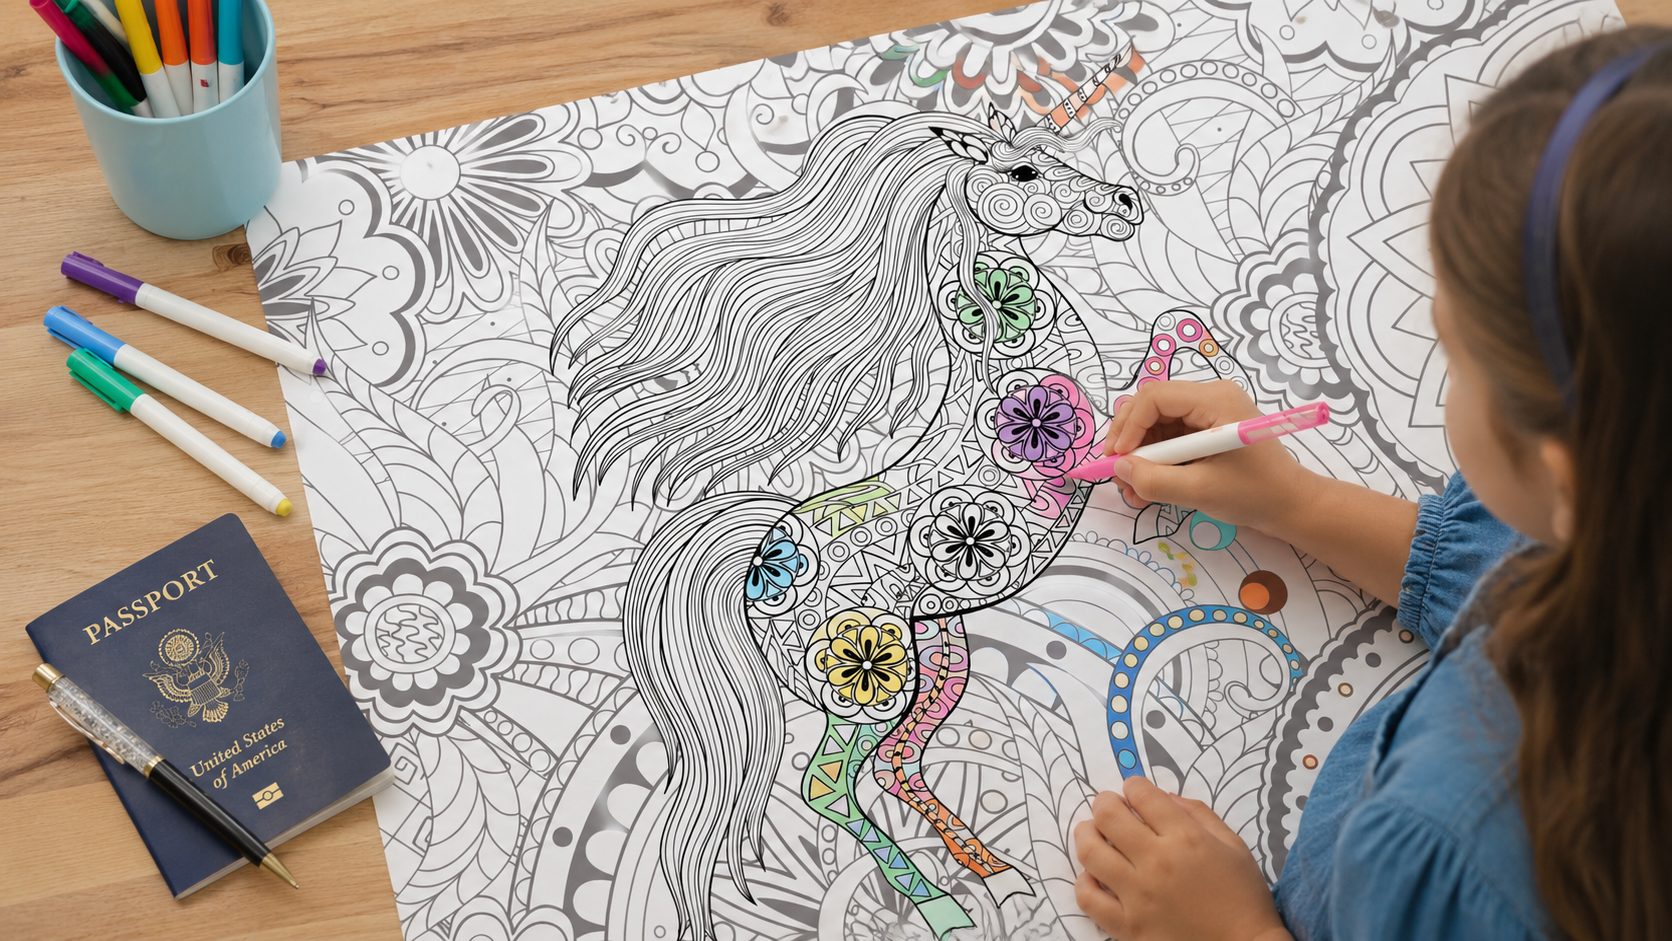
- Markers — best for bold, saturated color and fast coverage. Ideal for group settings where speed matters.
- Colored pencils — best for shading, blending, and detail work. Slower, but gives the most polished, layered look.
- Crayons — best for younger kids or seniors with limited fine motor control. Easiest to hold and apply with broad strokes.
- Gel pens — great for adding metallic or sparkle accents once the base coloring is done.
For group activities, we recommend a mix: markers for the bulk of the poster, with a few colored pencils on hand for anyone who wants to add detail to a specific section.
2. Work from Large Sections to Small Details
Start with the biggest open spaces first — backgrounds, large petals, big animal bodies. Save intricate detail areas for last. This keeps the overall poster looking balanced the whole way through, rather than having one finished corner next to a mostly blank page.
This approach also works well for group coloring — assign large sections to whoever wants quick, satisfying progress, and let detail-oriented colorists take the smaller areas.
3. Use a Light-to-Dark Color Order
When shading or blending, apply your lightest color first, then build up to darker tones. This prevents dark colors from overpowering lighter ones and makes blending edges much smoother. It's the same principle professional illustrators use, just scaled up for poster size.
4. Tape It Down Before You Start
Giant posters shift around if left loose on a table — and that's when edges get rough or colors bleed past lines. Use painter's tape or washi tape on all four corners to keep the poster flat and stable. This is especially important in classroom or group settings where multiple people are coloring at once.
5. Color in Sections for Group Projects
If multiple people are coloring the same poster — a classroom, a birthday party, a senior activity group — divide the poster into informal zones before starting. This avoids two people reaching for the same section and keeps the activity collaborative rather than competitive.
A good rule of thumb: one colorist per 8–10 inch area keeps everyone comfortable without crowding.
6. Test Colors on the Edge First
Before committing to a marker or pencil on a main section, test the color on an unused edge of the poster (or a scrap of paper) to make sure it's the shade you want. Marker colors especially can look different on paper than they do on the cap.
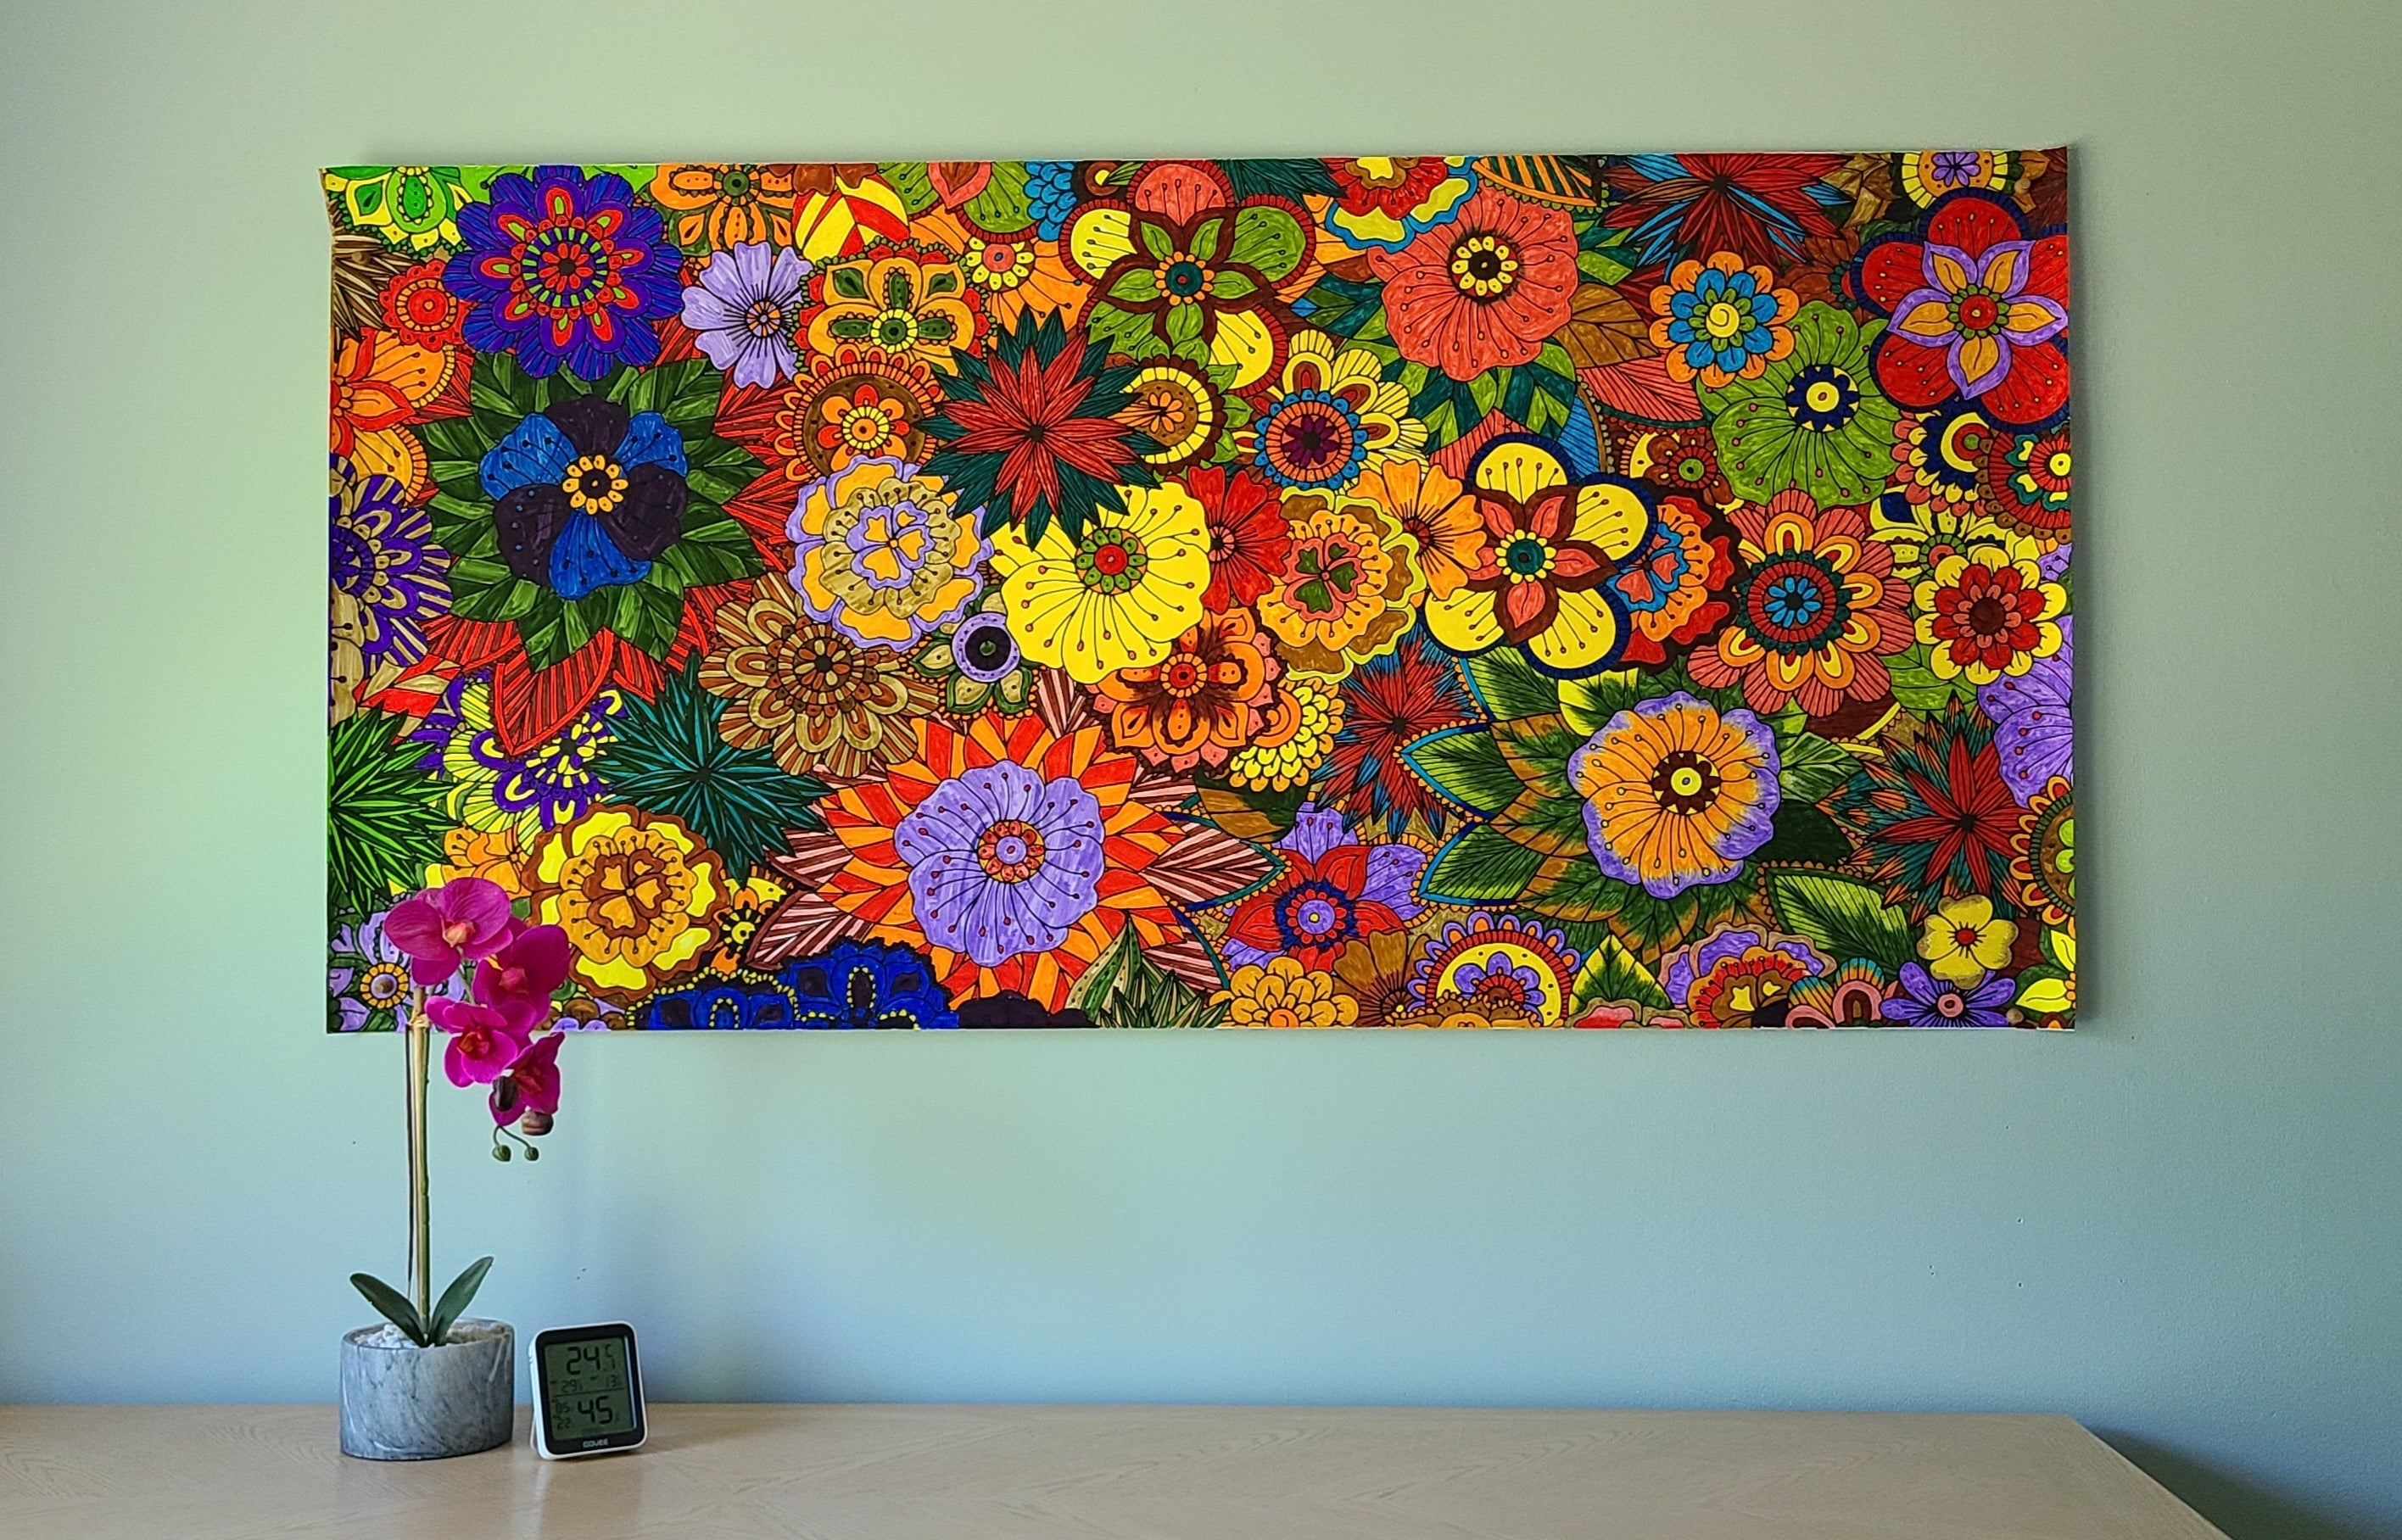
7. Add Texture with Layering
For a more dynamic look, layer two colors instead of using one flat color. Apply a base color, then lightly add a second, slightly darker shade only in the corners or shadowed areas of a shape. This small step adds depth that makes the finished poster look noticeably more professional.
8. Finish with a Fixative Spray (Optional)
If you're using pastels, chalk markers, or want extra protection before hanging the poster, a light coat of clear fixative spray (available at any craft store) prevents smudging and keeps colors vibrant for years.
9. Display It Right
Once finished, mount the poster using removable poster strips rather than tape directly on the paper — this protects the corners and makes it easy to move later. For classrooms and care facilities, laminating the finished poster extends its life significantly if it will stay on display long-term.
Common Mistakes to Avoid
| Mistake | Better Approach |
|---|---|
| Starting with small details first | Color large sections first, save details for last |
| Using only one marker color per section | Layer two shades for depth and texture |
| Leaving the poster loose on the table | Tape all four corners down before starting |
| Letting one person color the whole poster | Divide into zones for group activities |

Which Poster Should You Start With?
If you're new to giant coloring posters, start with a design that has large, clearly defined sections — these are the most forgiving for testing out new techniques. Browse the full collection and look for designs with bold outlines and big open spaces.
Shop Giant Coloring Posters at SJPrinter →
Want to practice these techniques across more than one design? A bundle gives you room to experiment with different styles and color schemes.
Shop the 2-Poster Bundle — $50 with Free Shipping →
Shop the 3-Poster Bundle — $64.99 →
Using These Tips for Classrooms or Care Facilities
If you're planning a group coloring session, pair these techniques with the setup advice in our guides on classroom coloring activities and senior care coloring programs for a complete plan from setup to finished display.
Questions About Choosing the Right Poster?
Every classroom, care facility, and family has different needs — group size, skill level, available time. If you're not sure which poster size or design fits your situation, reach out and we'll help you choose.
Leave a comment
All comments are moderated before being published.
This site is protected by hCaptcha and the hCaptcha Privacy Policy and Terms of Service apply.